
Are you in the midst of a visiting-friends-and-family whirlwind? Or are you just plain bored with too much time on your hands in that awkward post-Christmas-pre-New-Year-limbo? These cakes will get you out of bed! They make great gifts over the Christmas and New Year’s period and provide the perfect time out, just pair with a cup of tea and put your feet up for a bit of “me time”.
… for all the chocoholics
If you have a lot of dark chocolate left over after Christmas, then this recipe is perfect to use it all up as well as enjoy something chocolatey over this cold period. So get your aprons on and let’s get baking.
Here is what you will need to make my divine chocolate fudge cupcakes with chocolate butter cream:
Serving Size: 24 cupcakes (if you only want 12, just halve the recipe)
Preparation Time: 20 minutes
Baking Time: 20 minutes
The Cake
– 140g Plain Flour
– 200g Caster Sugar
– 60g Cocoa Powder (I like to use over 70% cocoa solids)
– 200g Butter (at room temperature)
– 4 Free Range Organic Eggs
– 2 tsp Baking Powder
– A Pinch of Salt
The Butter Cream
– 250g Unsalted Butter (at room temperature)
– 70g Dark Chocolate – melted (I like to use dark chocolate 70% cocoa solids or more)
– 500g Icing Sugar
– 4 to 8 tbsp Milk (only if the consistency of the butter cream is too thick)
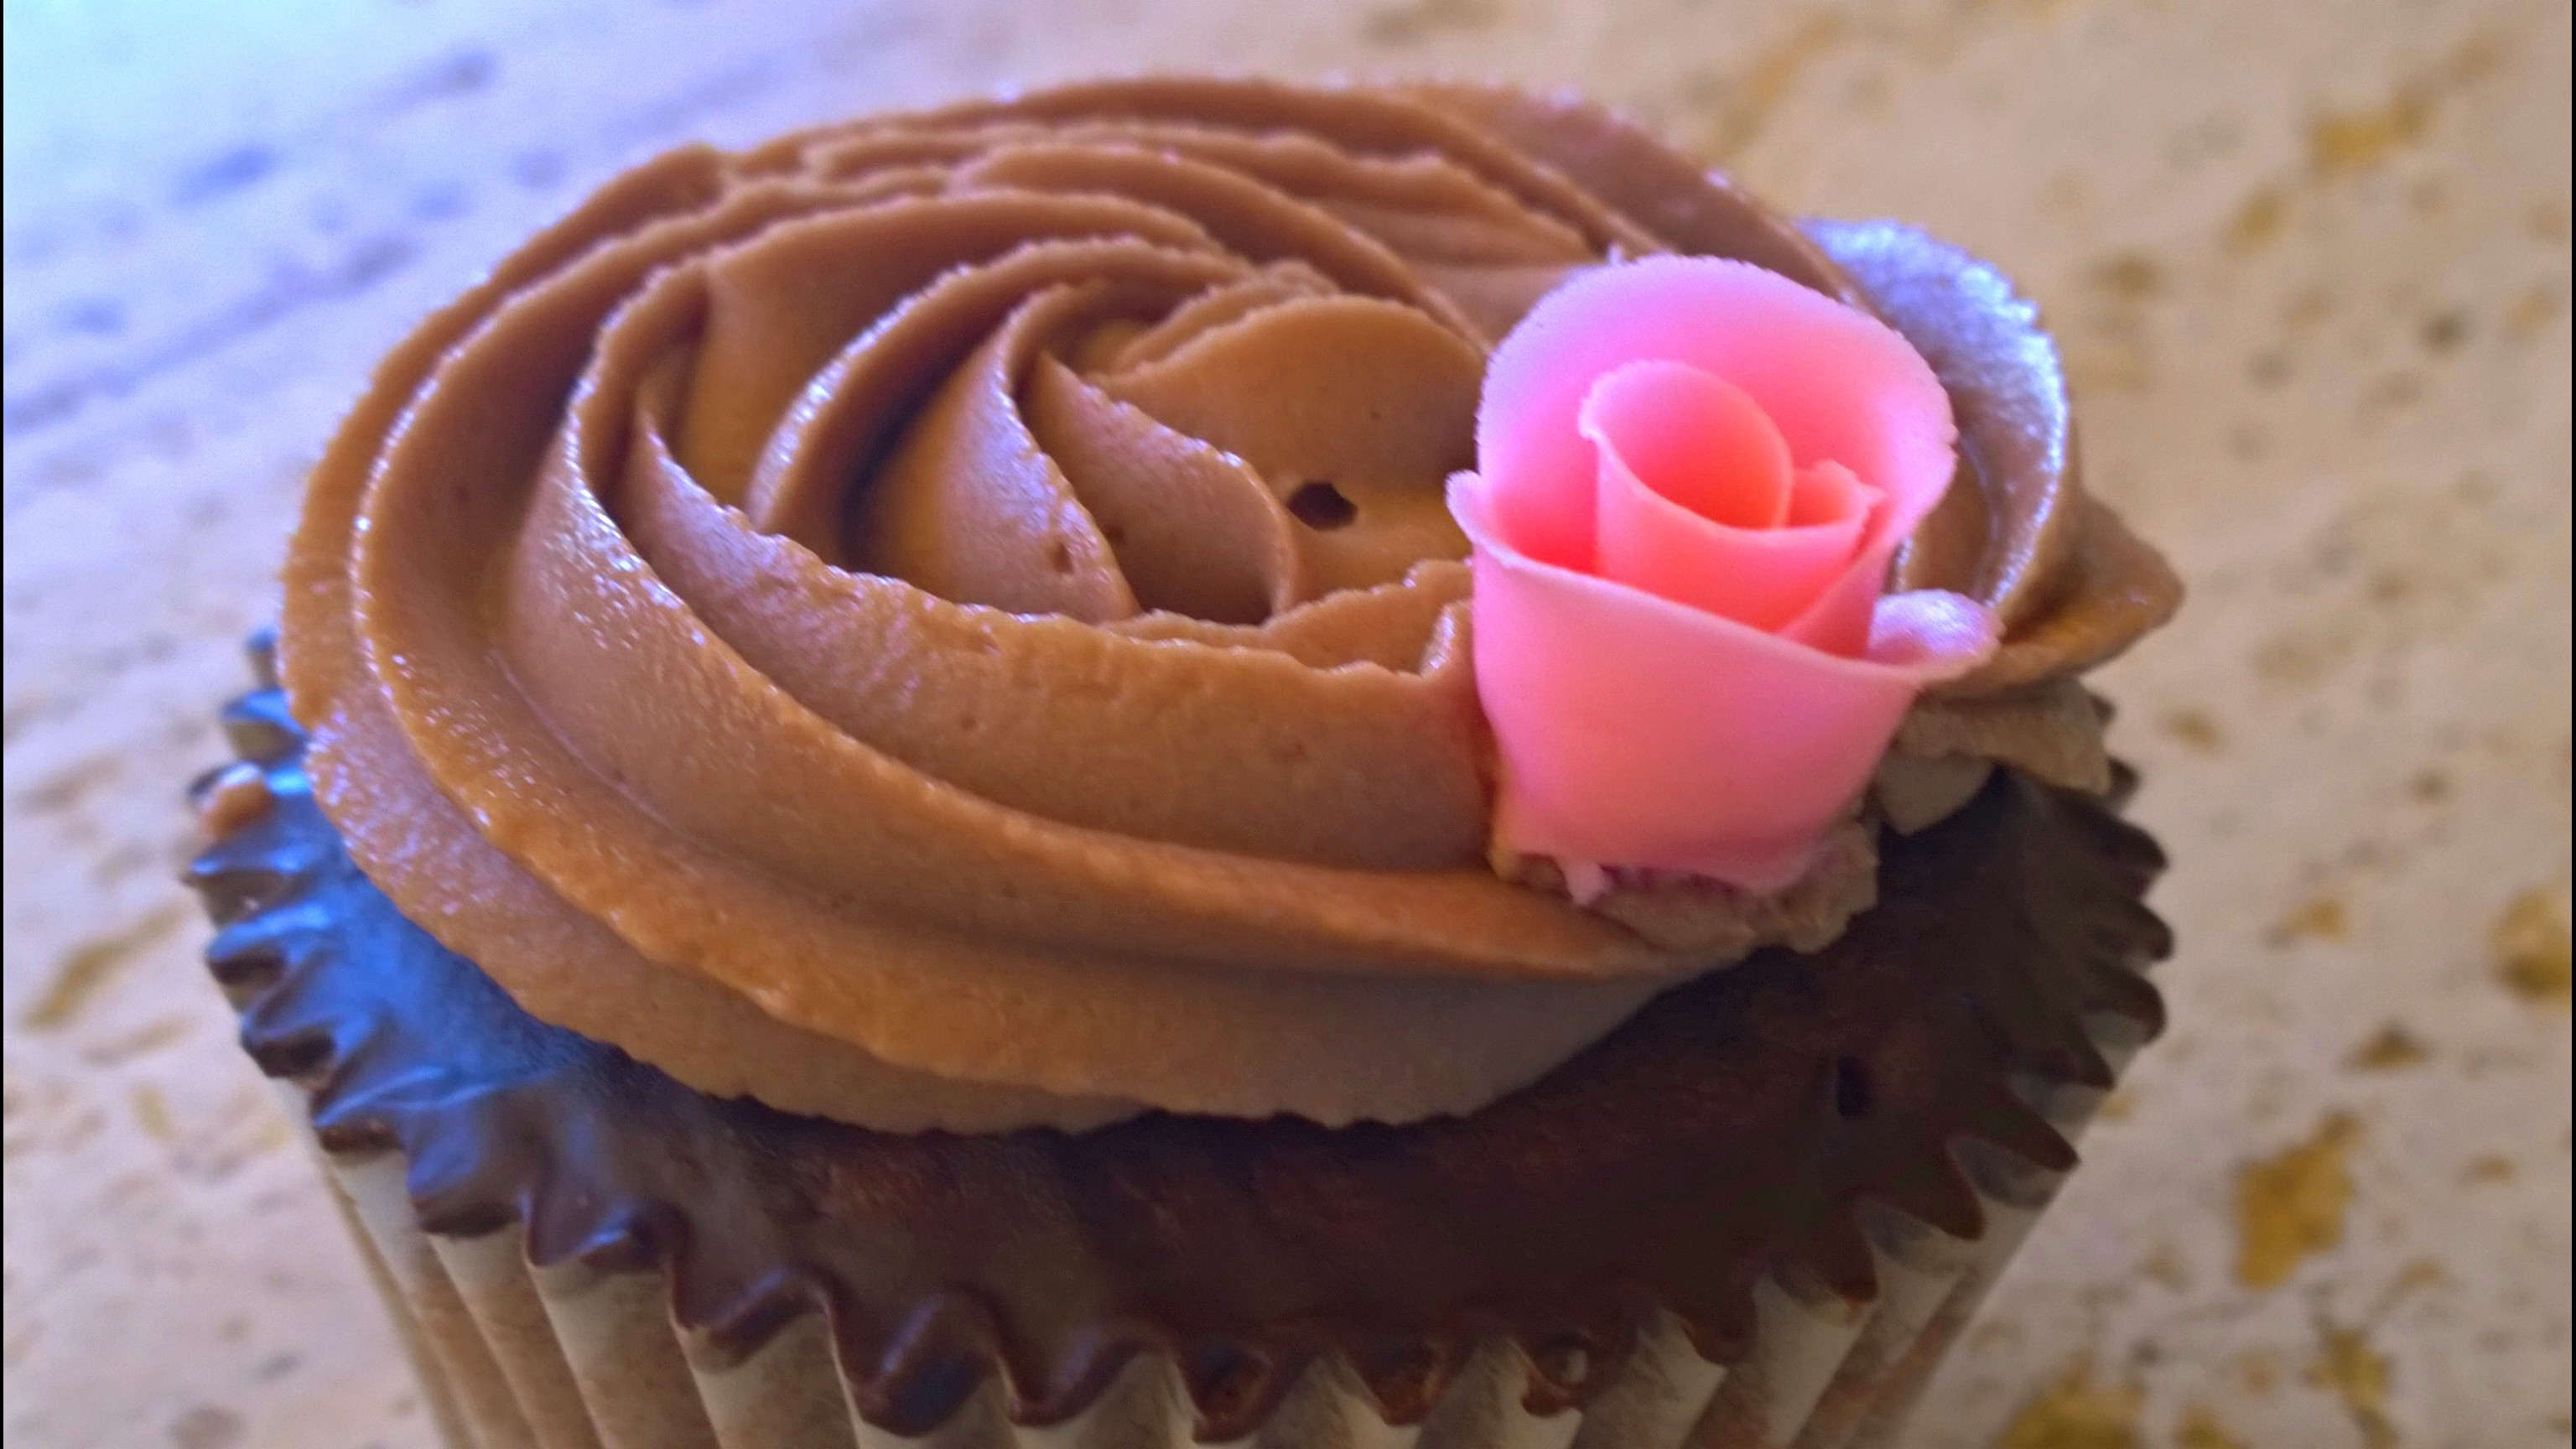
– Sugar roses to decorate (or anything edible and pretty)
Method
– Set your oven to 180 Degrees Celsius and line a cupcake baking tray with paper liners.
– In a clean, dry bowl add your butter and beat for 5 minutes, this will change the colour of the butter from a yellow colour to a pale cream colour. This means that the butter has become fully aerated and ready for you to add the sugar in.
– Add in your sugar and beat again until the texture becomes light and fluffy.
– Add in one egg at a time, ensuring that each egg has been well incorporated before the next addition of egg.
– Once all of your eggs have been added, using a separate bowl add in your four, cocoa powder, salt and baking powder and mix with a spoon.
– Add your four mixture 1/3 at a time making sure that each 1/3 has been well mixed in before the next 1/3.
– Once all of your ingredients have been well mixed together, spoon your cupcake batter into the cupcake paper liners until they are 2/3 full. This will leave enough space for your cupcakes to rise in the oven without any over spill.
– Place your cupcakes into the oven and leave to bake for approximately 20 minutes.
– A way to test if your cupcakes are ready is by inserting a skewer into the centre of each cupcake and if you can remove the skewer without any cake batter on it, then your cupcakes are ready to come out of the oven.
– Another way to check if the cupcakes are ready is by applying a small amount of pressure onto the top of each cupcake and if it springs back to the touch, then your cupcakes are ready.
– Once you have removed your cupcakes from the oven, leave them to stand for 5 minutes in the baking tray.
– Once this 5 minutes is up, remove the cupcakes and leave to stand on a wire cooling rack until they are completely cold.
– Whilst your cupcakes are cooling, this will leave you the perfect amount of time to whip up the chocolate butter cream.
– In a clean, dry bowl add your butter and beat for 5 minutes, until the butter changes from a yellow colour to a pale cream colour.
– Once this colour change occurs, add in your icing sugar a spoon at a time. Mix well between each addition. DO NOT use an electric mixer. This step requires a lot of patients as if you add in too much at a time, your icing sugar will end up everywhere other than in your butter cream.
– Once all of the icing sugar has been mixed in, pour in your melted chocolate and mix again.
– If your butter cream appears a little thick, then add in one table spoon of milk at a time,until the consistency is correct (you may not need to use all of the milk).
– Pipe your chocolate butter cream onto your cold cupcakes and decorate with a sugar paste rose or any kind of decoration you fancy.
… serve with a cup of tea!
This is such a beautiful and delicious cake which can be served any place and at any time, so be prepared to only get great comments on this cake – I am a professional baker and I still get comments like – ‘I can’t believe you made that’. So be prepared to wow your family and friends!
Here is how you make my ‘Deliciously Moist Carrot Cake with Cream Cheese Frosting’:
Serving Size: 10 to 12 Slices (depending on the size of your slices)
Preparation Time: 30 minutes to 1 hour
Baking Time: 30 minutes to 40 minutes
The Cake
– 260g Plain Flour
– 1 tsp Baking Powder
– 1 tsp Bicarbonate of Soda
– 100g Pecans or Walnuts
– 350g Grated Carrot (raw)
– Pinch of Salt
– 2 tsp Pure Vanilla Extract (not essence)
– 1 ½ tsp Ground Cinnamon
– 1 ½ tsp Ground Nutmeg (fresh is better if you can get it)
– 4 Large Free Range Organic Eggs
– 300g Granulated White Sugar
– 250ml Sunflower Oil or Vegetable Oil
The Frosting
– 250g Cream Cheese (I like to use Philadelphia)
– 500g Icing Sugar
– 1 ½ tsp Pure Vanilla Extract
Method
– Set your oven to 180 Degrees Celsius and using a non-stick spray, spray two 9×2 inch (23x5cm) cake tins.
– Line the bottom of each tin with a circle of parchment paper.
– In a frying pan, toast your walnuts or pecans until they turn a delicious golden brown, then remove them from the heat, leave to cool and then coarsely chop.
– In a clean, dry bowl add your flour, baking powder, bicarbonate of soda, salt, ground cinnamon and ground nutmeg and stir with a spoon
– In a separate bowl, whisk up your eggs until they become white, this usually takes a minute or two.
– Slowly, add your sugar to the eggs until the mixture thickens.
– Add in your oil and then beat in your vanilla.
– Once the vanilla has been well incorporated, add in your flour mixture 1/3 at a time ensuring that all of the 1/3 has been well mixed in before the next addition.
– Once all of your flour mixture has been added, using a spatula, fold in your grated carrots and chopped walnuts or pecans.
– Once all of your ingredients have been incorporated, slowly dived the mixture evenly between the two cake pans and place in the oven.
– The baking process should take between 30 to 40 minutes. One way to test if your cakes are ready is by inserting a skewer into the centre of the cake and if you can remove it, without any batter on it, your cakes are ready.
– Once your cakes are ready, remove them from the oven and leave to sit in their cake pans for 5 minutes.
– Once this 5 minutes is up, gently invert your cakes onto a wire cooling rack, remove the parchment paper and leave to cool fully.
– Whilst your cakes are cooling, this will leave you with the perfect amount of time to complete the cream cheese frosting.
– In a clean, dry bowl add your cream cheese and whisk until it becomes smooth.
– Using a spoon, spoon in your icing sugar one spoon at a time. DO NOT use an electric mixer as the icing sugar will end up everywhere other than in your frosting.
– Once all of the icing sugar has been well incorporated, add in your vanilla extract and mix again
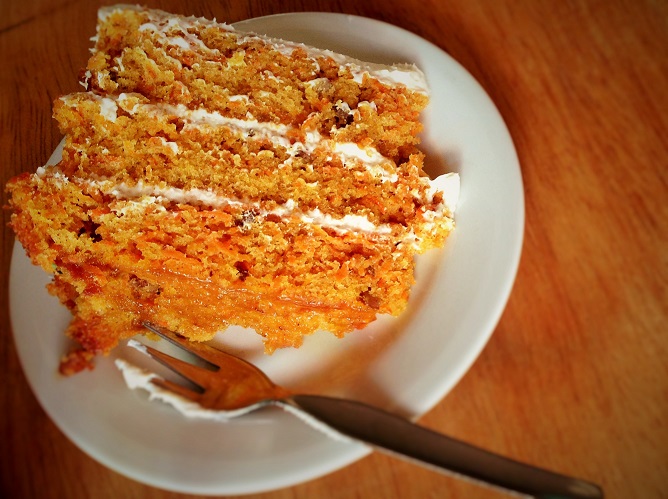
– By now the cakes should be cold, so using a spatula, carefully create a layer of frosting on the top of one of your cakes, this layer should be about 0.5cm thick.
– Place your second cake on the top of the icing and then liberally ice the entire outside of your cake.
Hope you have enjoyed these recipes if you are looking for some more tasty treats to surprise your family and friends, then check out our website; www.jenniferscakes.co.uk
Have a very happy and healthy New Year from all at Jennifer’s Cakes.
xxx